HOW TO TAKE BETTER SUNRISE & SUNSET PHOTOS
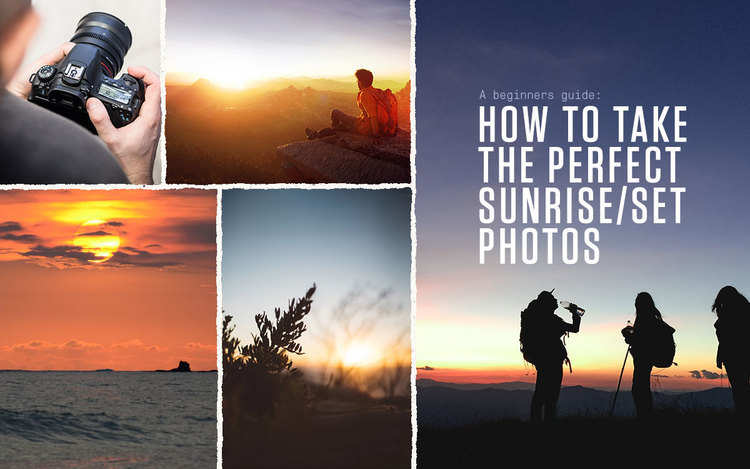
HOW TO TAKE BETTER SUNRISE & SUNSET PHOTOS
The splendour of dusk and dawn in nature have always mesmerised and inspired artists and poets throughout the ages. To this day, professional photographers and avid outdoor lovers still try to capture that beauty with modern photography and equipment. Let us share a few creative and technical tips to take better sunrise and sunset photos. It is suggested that a quality DSLR camera is used – a cell phone camera simply won’t cut it.
1. USE A TRIPOD

Tripods can be burdensome to haul around, but there are some good reasons as to why it is so vital. Firstly, it provides stability and eradicates any shaking. Manual focusing is thus more effective and a longer shutter speed won’t be affected. It also allows you to set up a shot, plan the composition and adjust your settings without losing that specific view or frame.
2. DECIDE ON APERTURE

This setting determines how much light passes through the lens opening, which determines the depth of field and focal clarity. Most sunrise or sunset photos require a high aperture – anything from f/11 to f/16 (or higher) – so that everything from the foreground to the background is sharply in focus. However, if you want to focus on a person/object in the foreground, and create a blur in the background set the aperture low – anything f/4 and below will suffice.
3. CHOOSE A LOW TO MID-RANGE ISO

The ISO setting determines how sensitive the camera sensor is to light. Due to the fact that lighting during sunrise or sunset is low or minimal, it is suggested that the ISO setting be at the lowest 100 and highest 400. Anything higher will create an overexposed and grainy picture. However, in instances where there’s a lot more light available, adjust it to 800 maximum.
4. SHUTTERSPEED IS VERY IMPORTANT

Most cameras will determine the shutter speed automatically. However, keep an eye on it – if it gets too slow. Any form of motion or movement within the frame (or camera shake) can create a motion blur or fuzzy effect. This is why stability is so important, hence the tripod. Aperture and ISO settings can be adjusted to create a better sense of image stability. Since the aperture determines the depth of field and focus, maybe try and adjust the ISO by making it a bit higher if needed, as it increases shutter speed. However, with water moving, a person running past or even birds flying, a motion blur might create an interesting effect in the overall composition of the image.
5. GET CREATIVE

There’s nothing wrong with vibrant horizon lines and dimmed vistas, but all that can seem monotonous and flat when reviewing your pictures afterwards. Try and incorporate different objects such as trees, rocks and people. Different focal points in the foreground and middle ground can create exciting and enticing compositions.